
How to setup your own FREE VPN server on cloud (AWS)
How to setup your own FREE VPN server on cloud (AWS)
Almost all major cloud computing companies like Google Cloud, Microsoft Azure or Amazon Web Services (AWS) offer free 12 months services or free credits to newly registered members. We use AWS in this solution. If you don’t have an account on AWS, Please be registered

We are going to click on the “Services” top left and then under “Computing” select “EC2”
What is EC2?
It’s an amazon service let us deploy a virtual machine in the cloud. It will run our vpn server.
Launch EC2 Instance
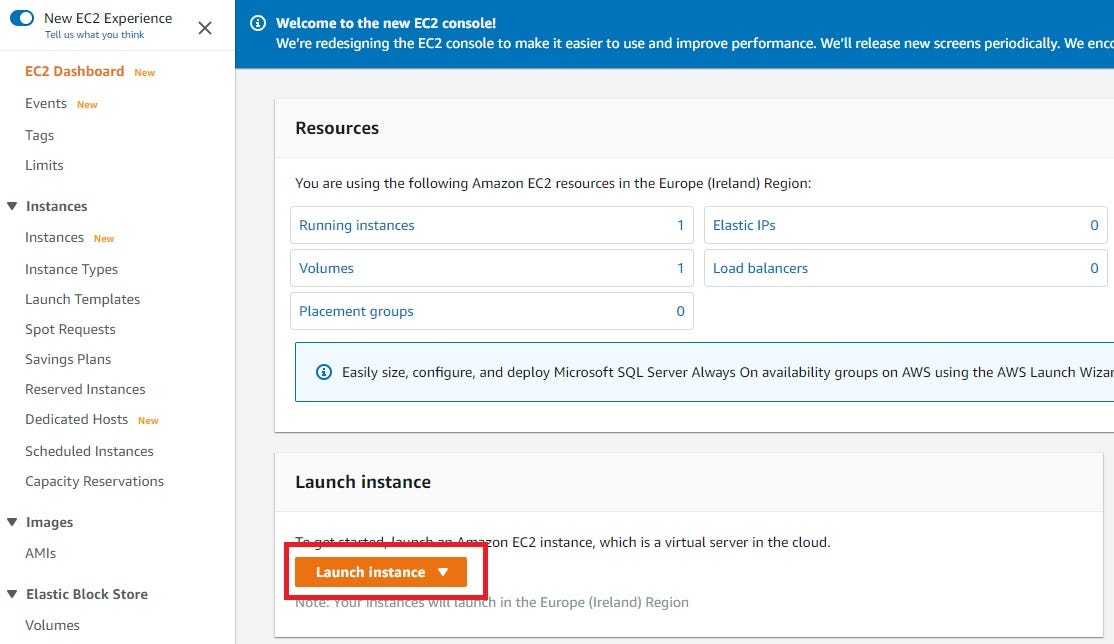
We can select whatever image we want. They are called AMI or amazon machine images and these are basic. They just have the operating system installed but we want a bit extra to save time so we are going to AWS Marketplace.
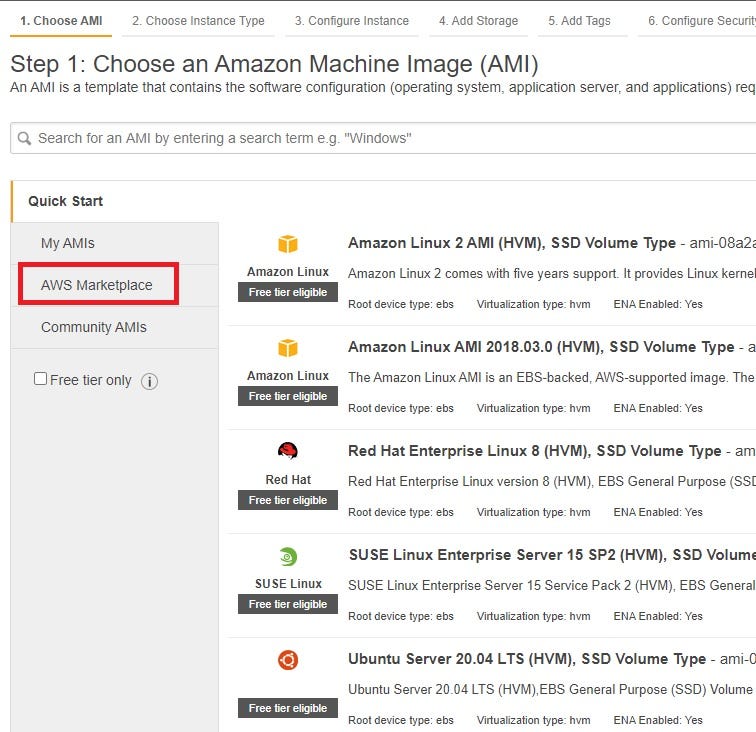
AWS Marketplace will give us stuff beyond the operating system like we’ll have pre-configured tools like OpenVPN.
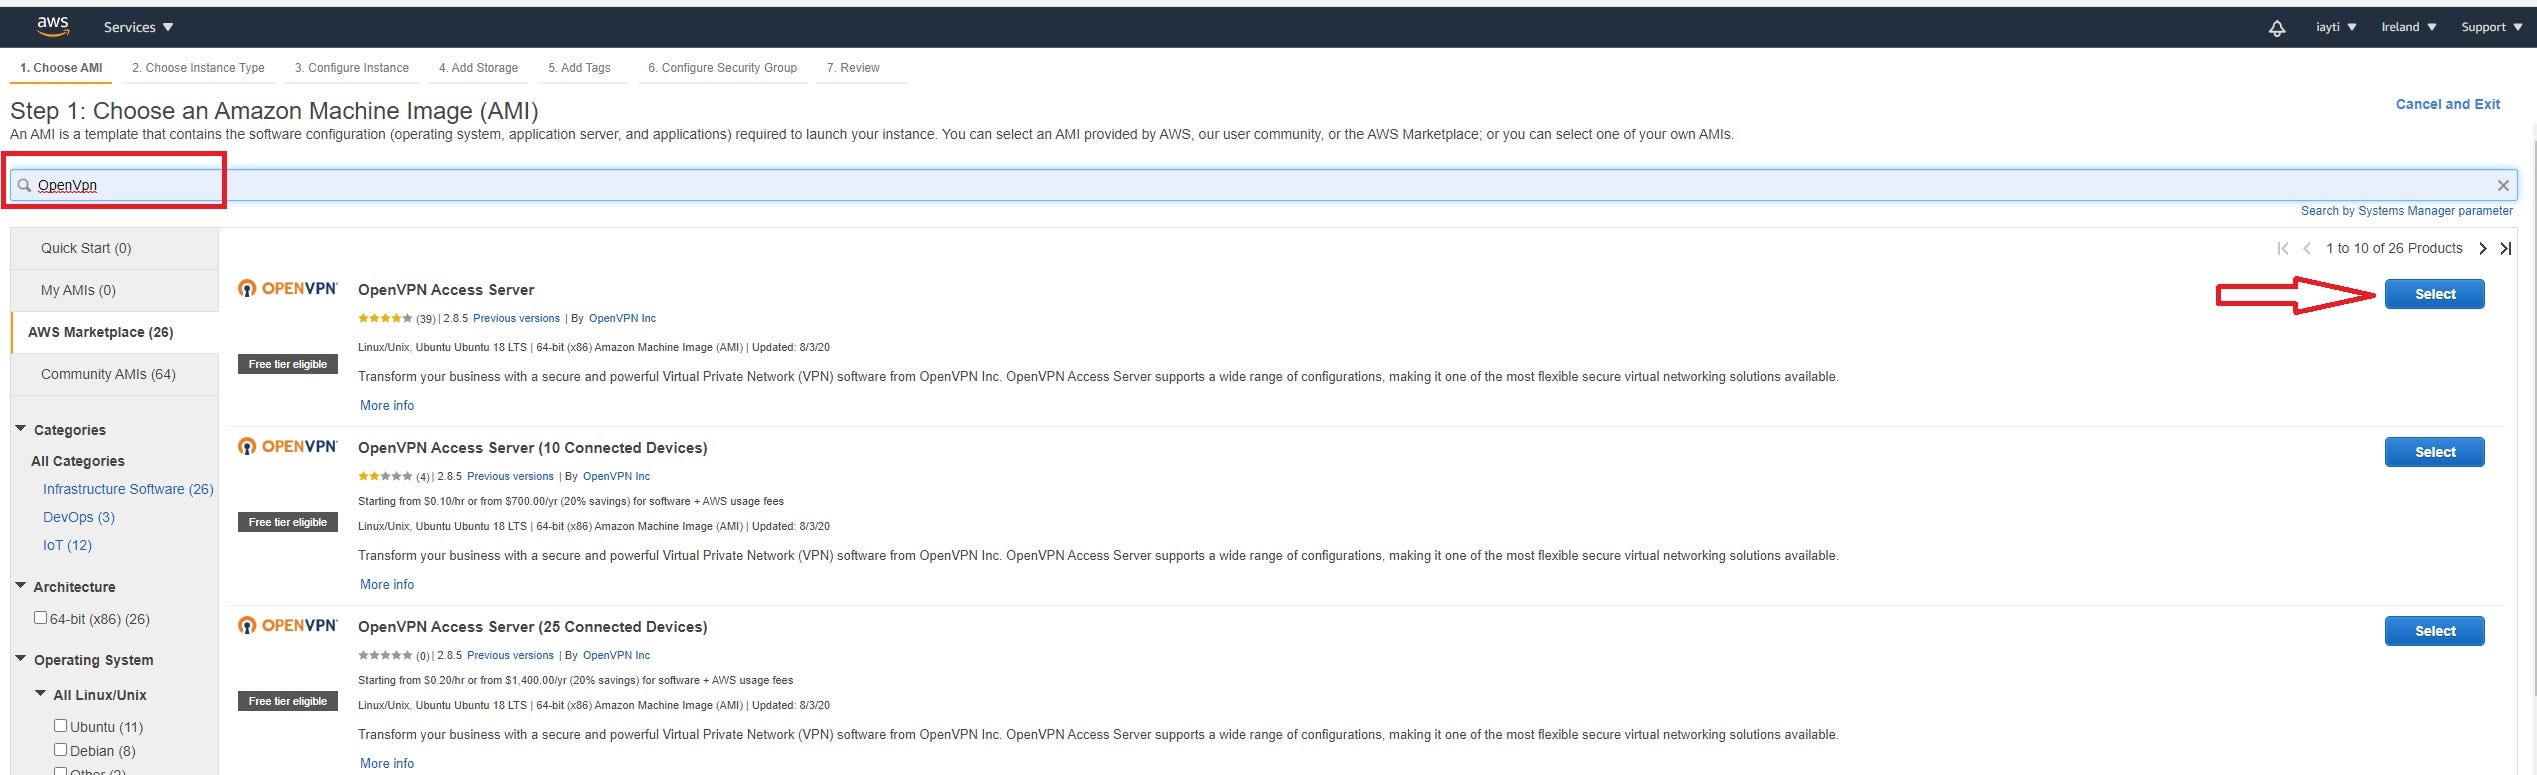
Type "openvpn" in the search box and choose the first choice OpenVPN Access Server and then select. This will be an Ubuntu server with OpenVPN already installed. It’s free tier 😃.

OpenVPN is a free and open source software but OpenVPN Access Server is a paid commercial option. It gives us two clients for free. You and your friend can connect vpn server for free no worries 😄 Select continue and then we will choose our server type.
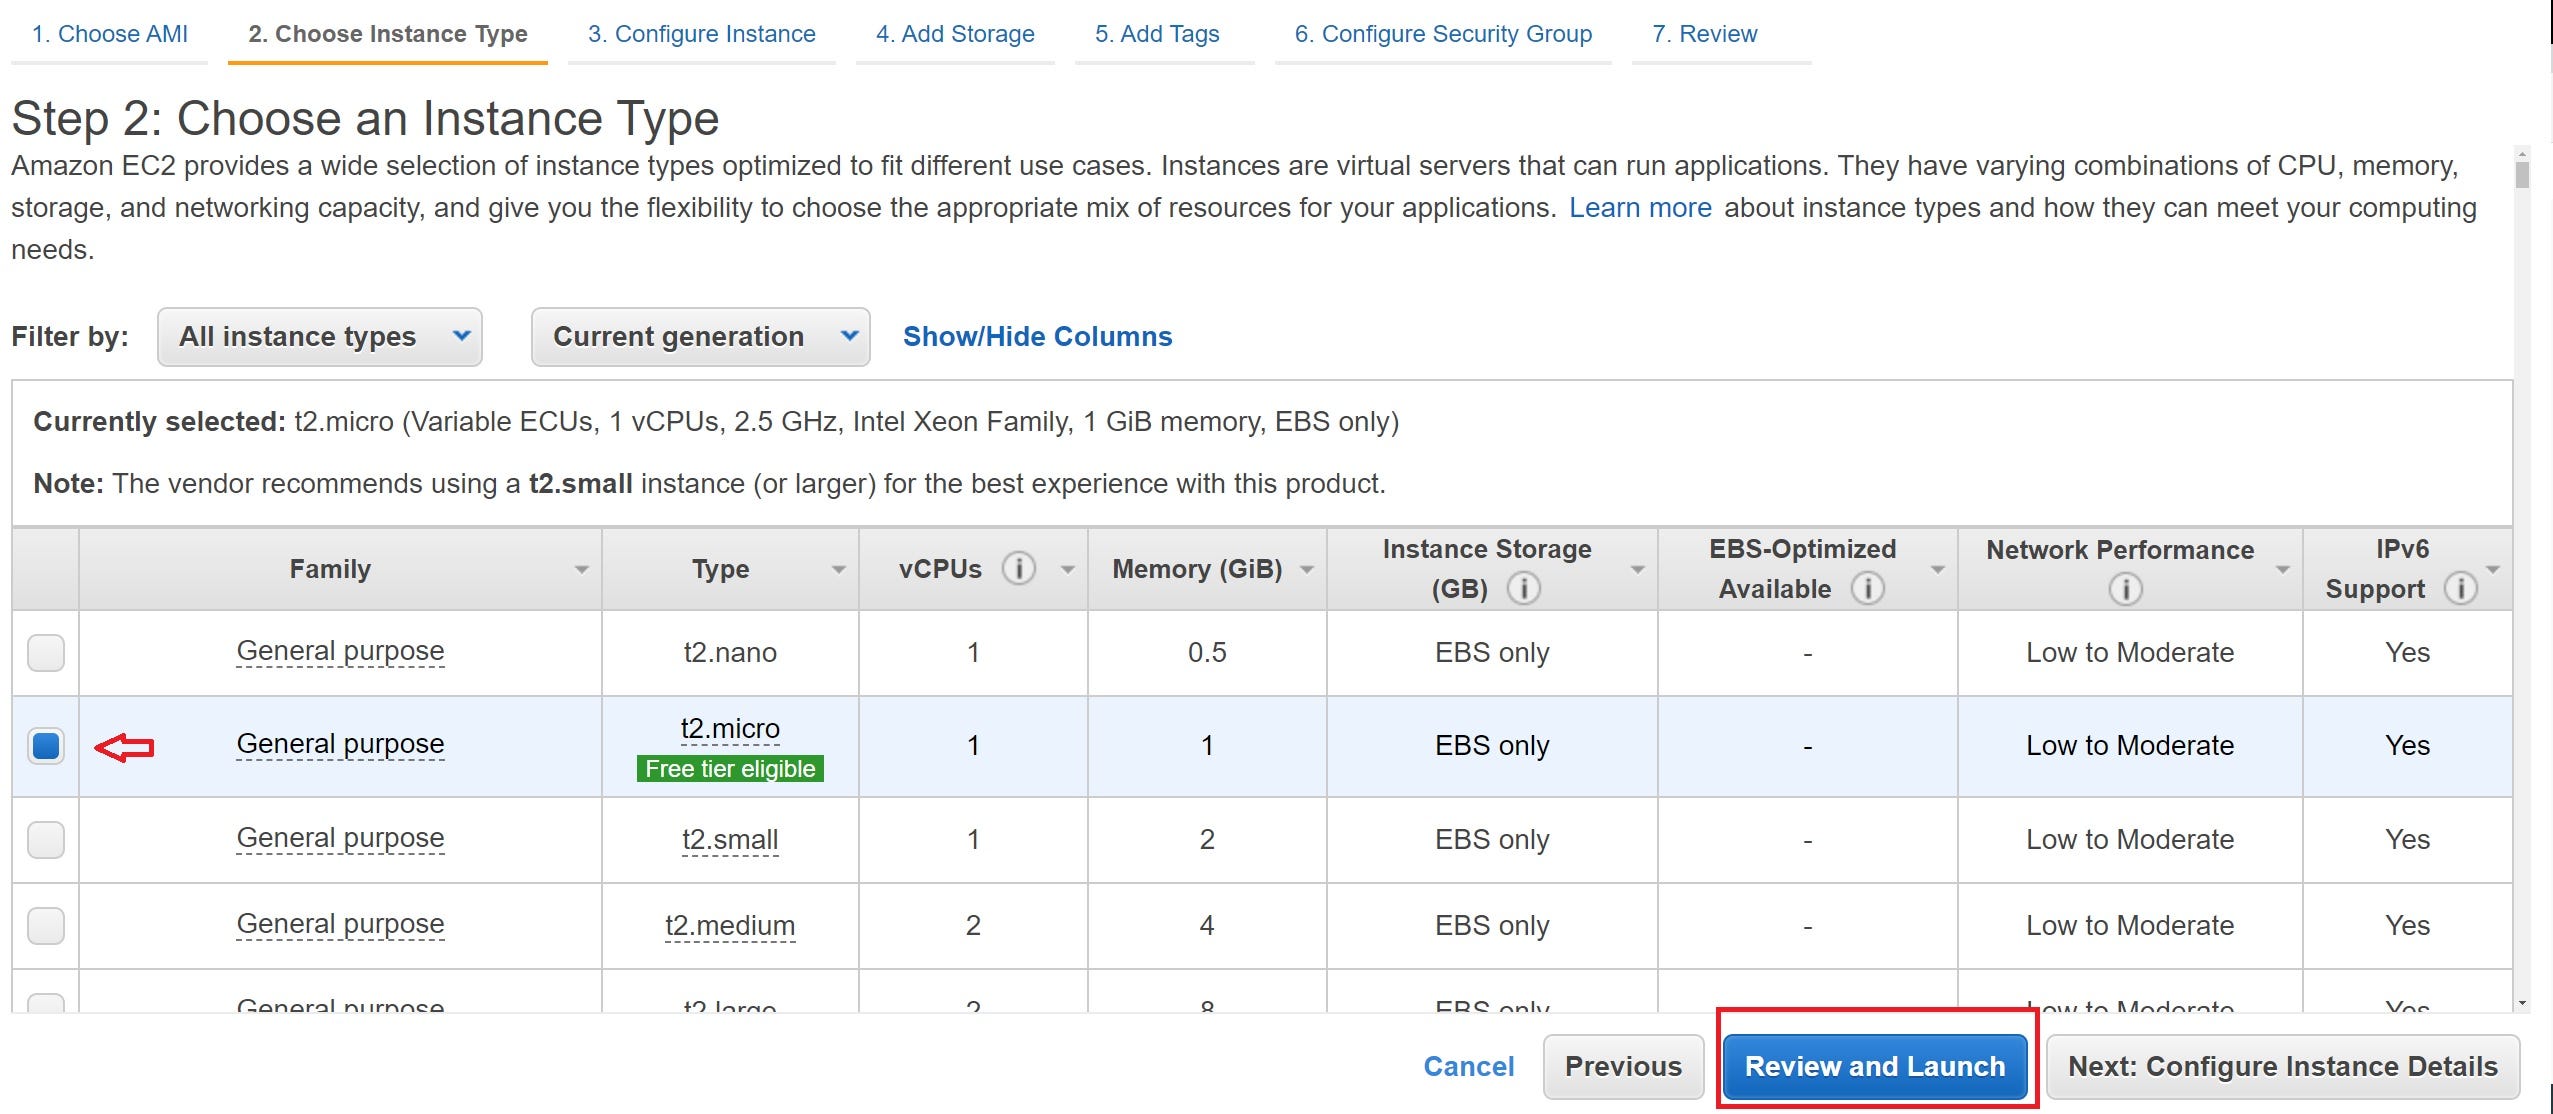
Chose the free tier and go to Review and Launch.

Click the Launch button.

We need a key pair. If you don’t already have one, make a new one.
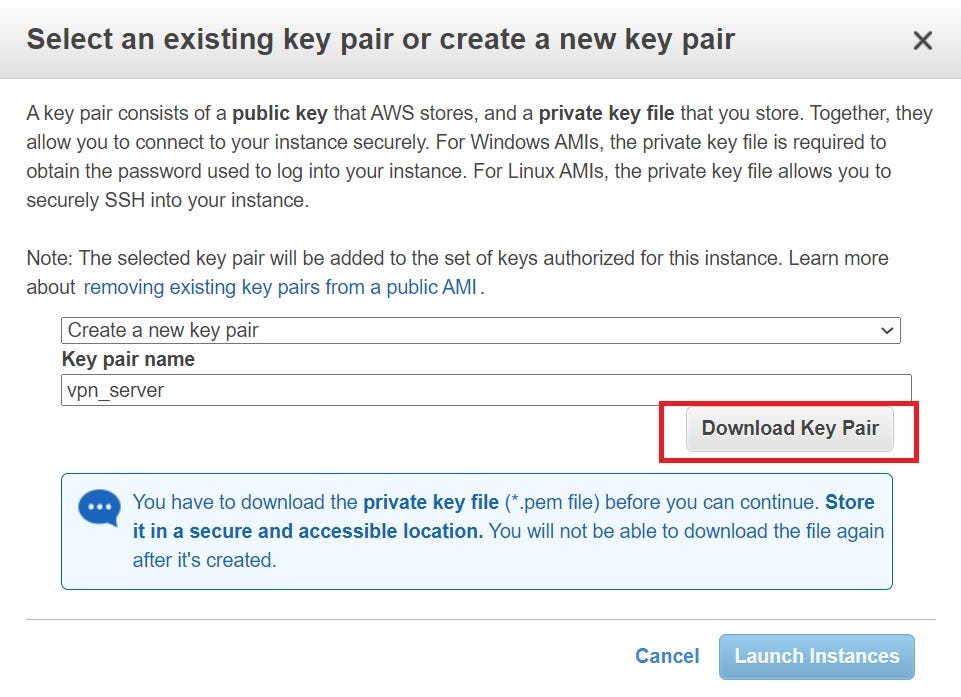
This is the only chance to download the key. Please do it now 😄. We are going to use it when we connect to our server to configure it. After download click the Launch Instances.
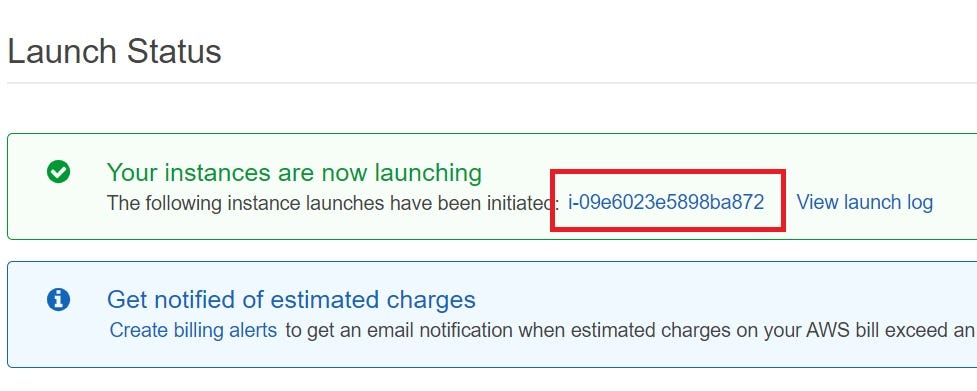
Click the link and watch the instance status.
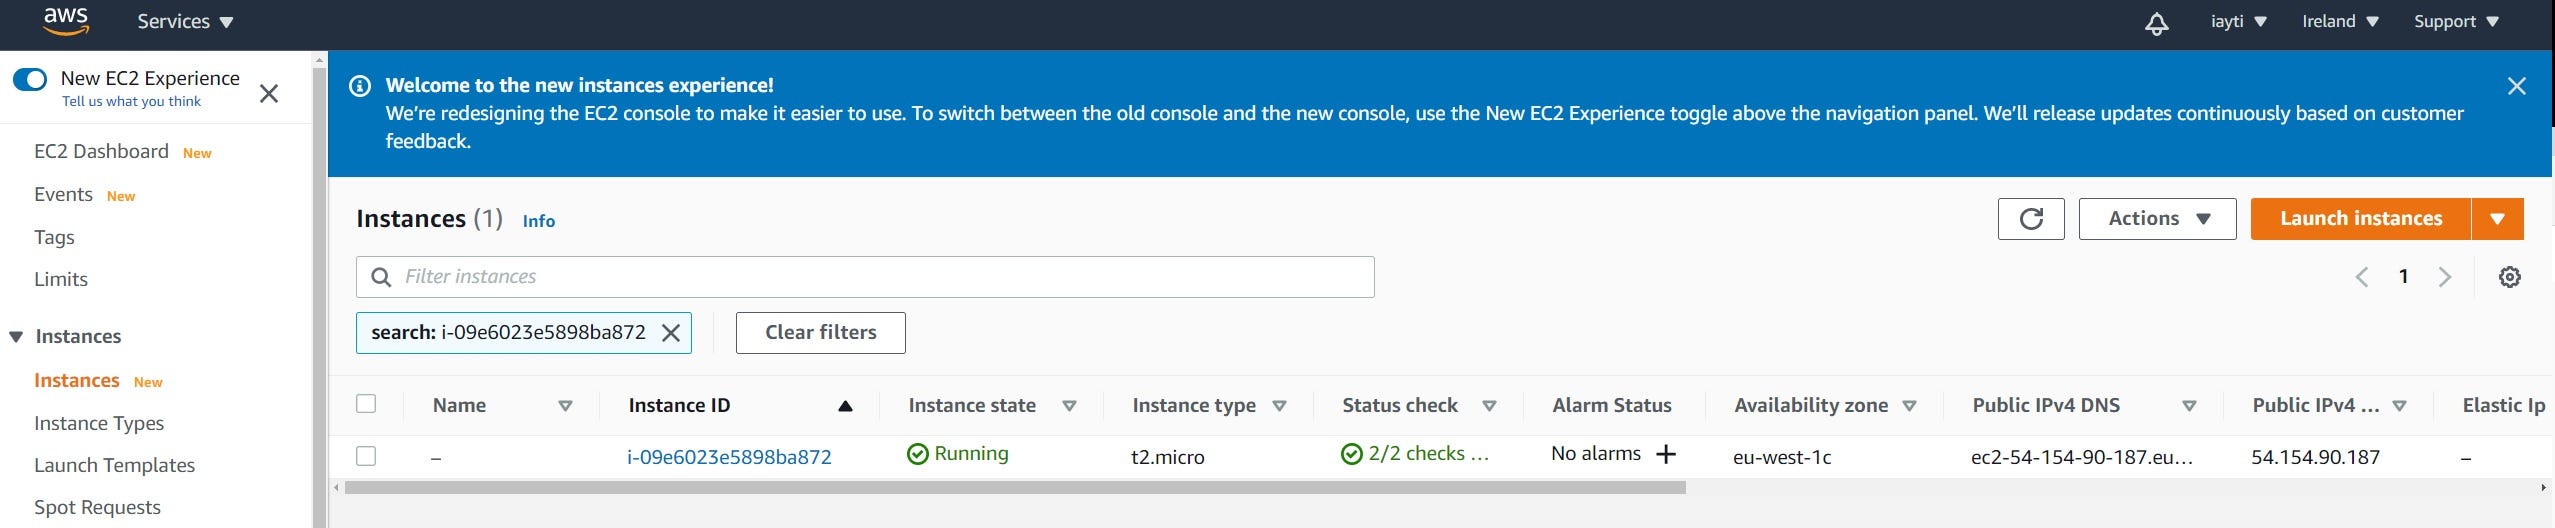
Finally, It’s done. Server is running. We are ready 😃
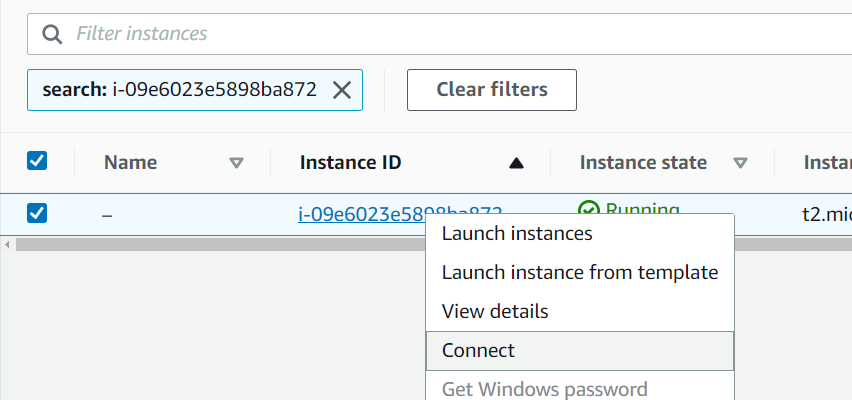
Right click Instance ID and Connect. This will show you how to connect to your vpn server. We will go with the standalone ssh option.
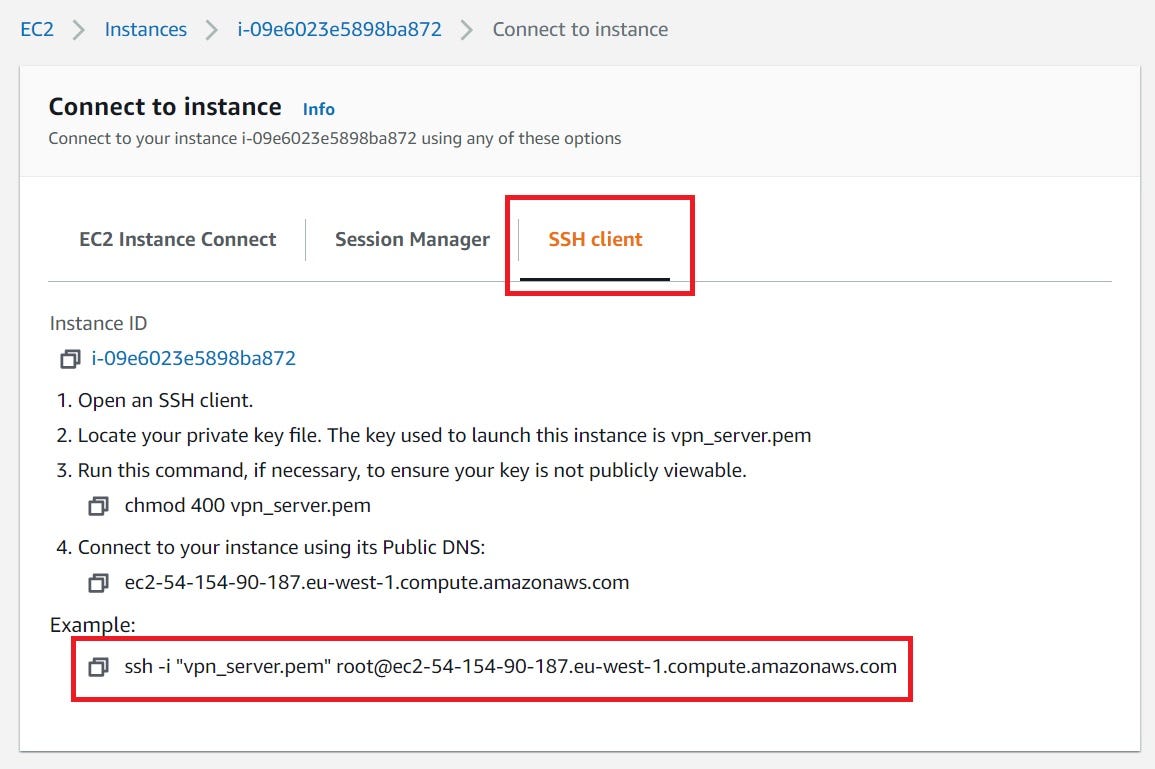
Copy the example ssh code and launch your terminal program on Linux or Mac or Windows. I am using powershell in Windows 10. Shift + Right Click the downloaded vpn_server.pem file folder and launch the “Open PowerShell window here” or you can use the “cd” command to go to the folder.

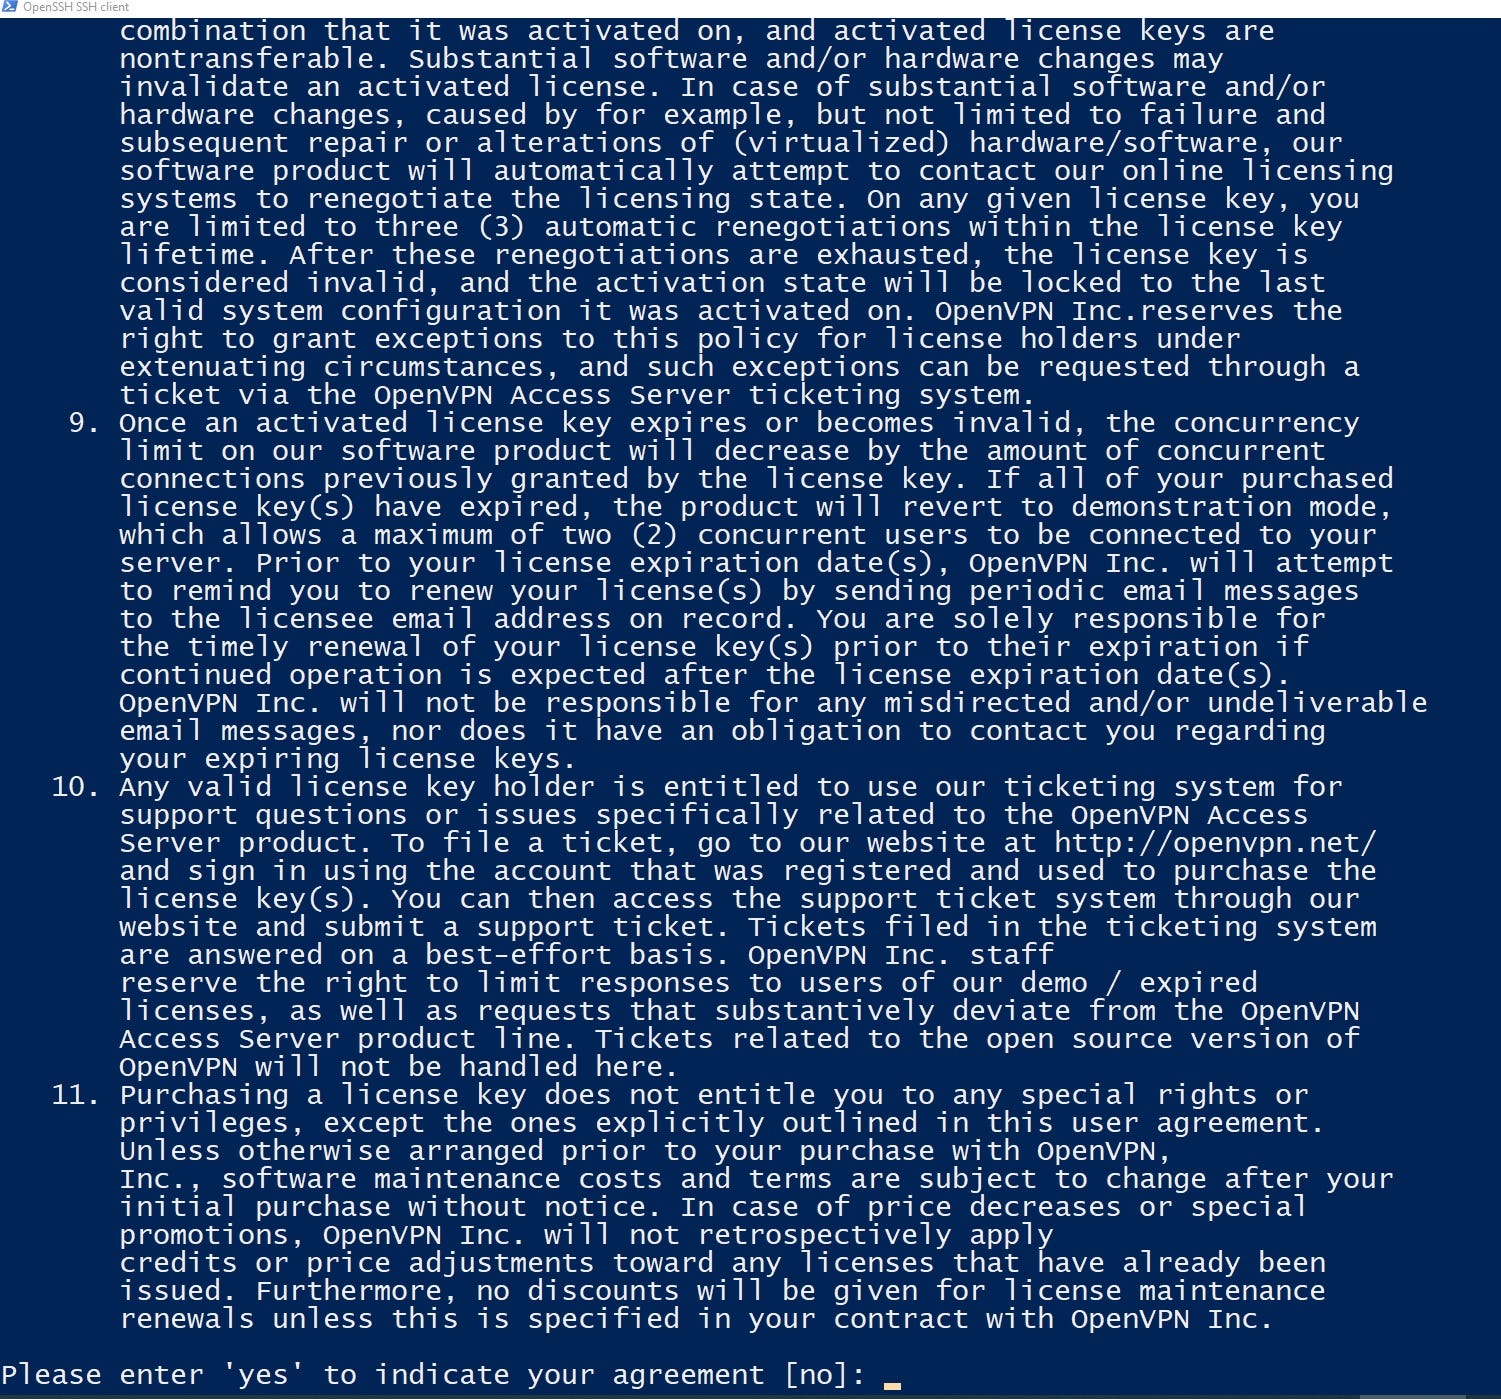
Type “yes” and continue.
Type “yes” again and keep pressing enter for default settings until the server is initializing OpenVPN.
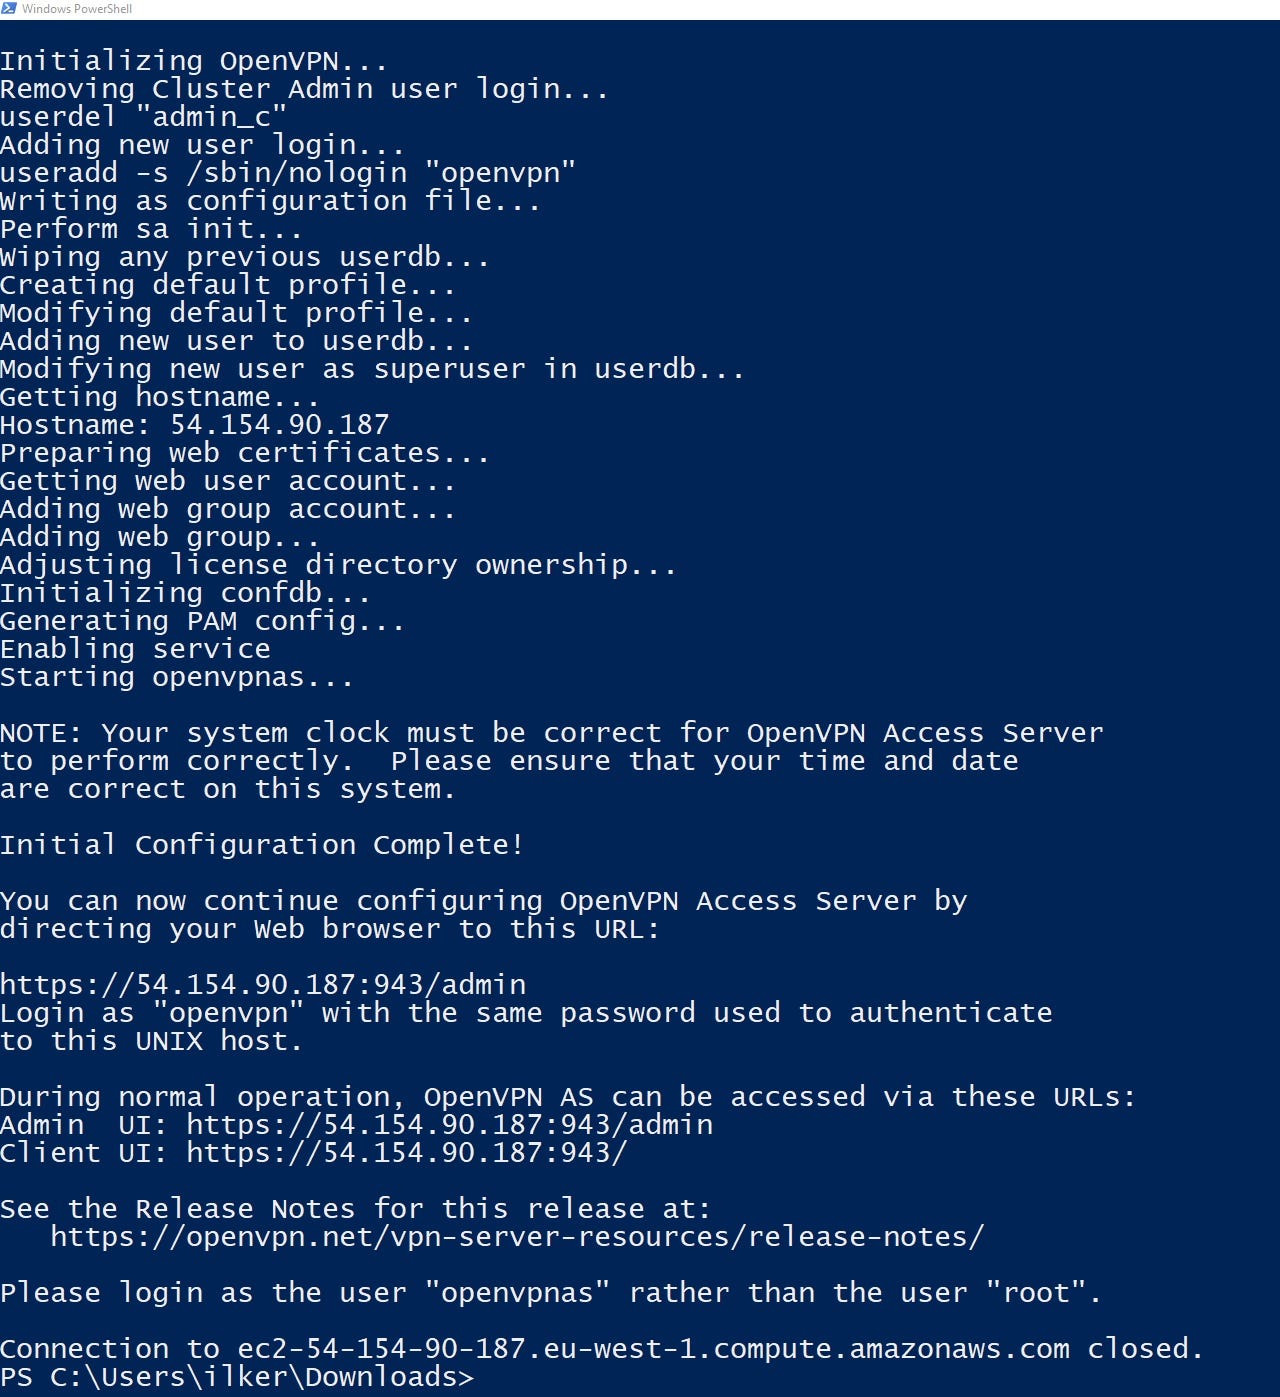
OpenVPN wants you to login as “openvpnas” rather than “root” and it won’t log back in as root. Just enter the same command as we used earlier to change the user.
ssh -i "vpn_server.pem" [openvpnas@ec2-54-154-90-187.eu-west-1.compute.amazonaws.com](mailto:root@ec2-54-154-90-187.eu-west-1.compute.amazonaws.com)</span>
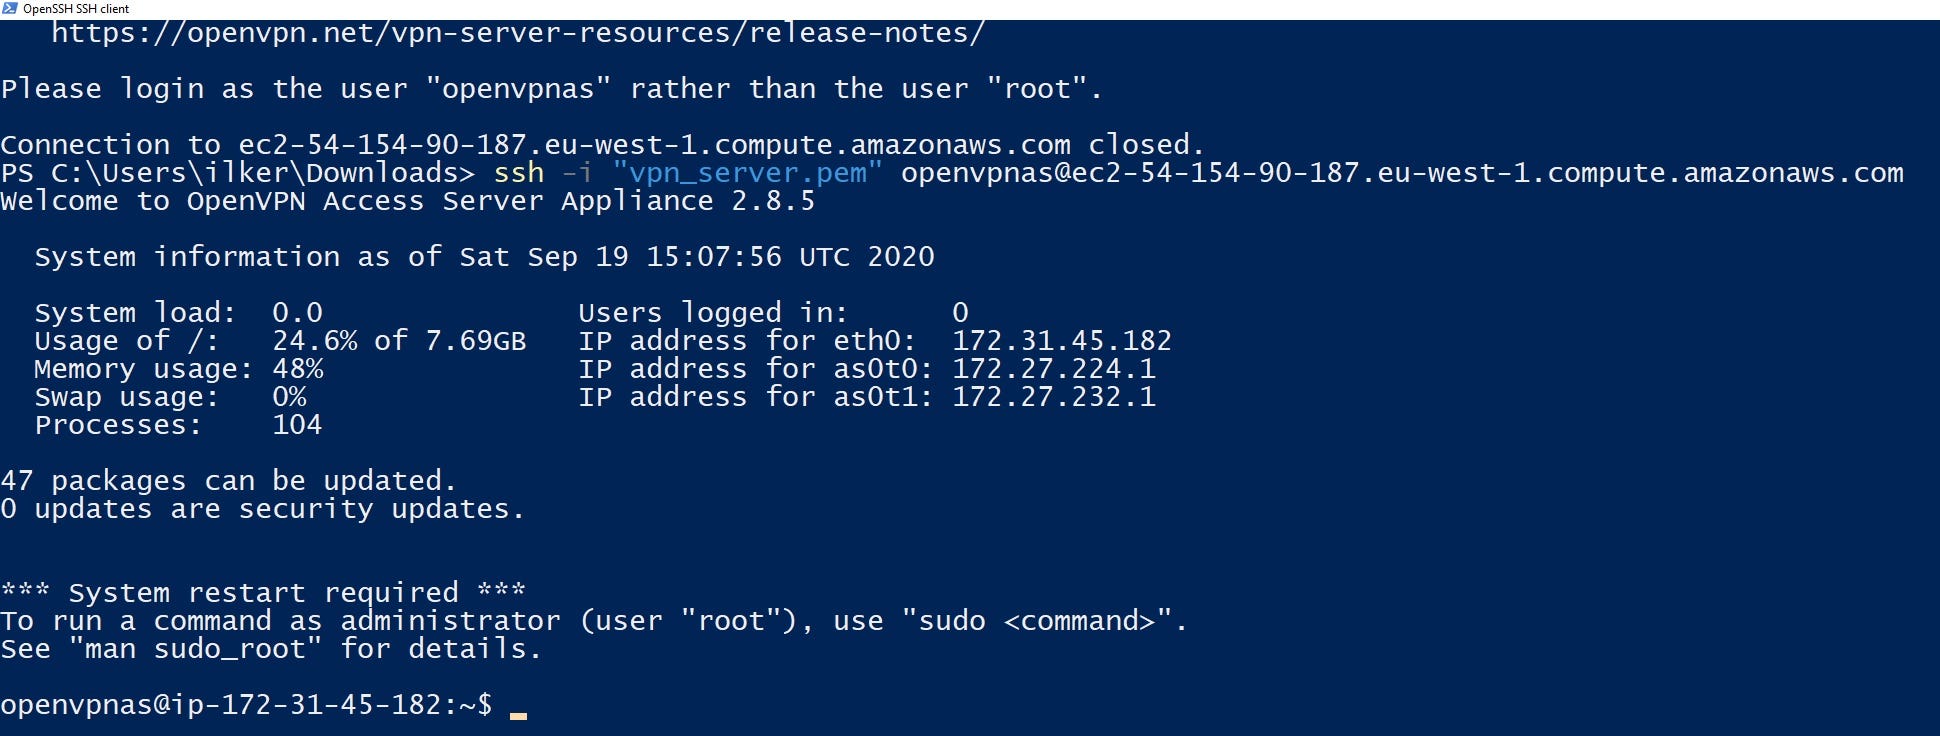
That should work just fine. We are in 😃. Now there is only one thing we have to do here in the command line.
sudo passwd openvpn</span>
This will change the password for the user OpenVPN. This is our admin user and our client user when we connect to our vpn portal.

Remember this password. This will be your admin password for OpenVPN. After this stage close the terminal or minimize it. Now your server is pretty much ready but there is one thing we want to do. We will get back to AWS and we will look pur public IP address “IPv4 Public IP”
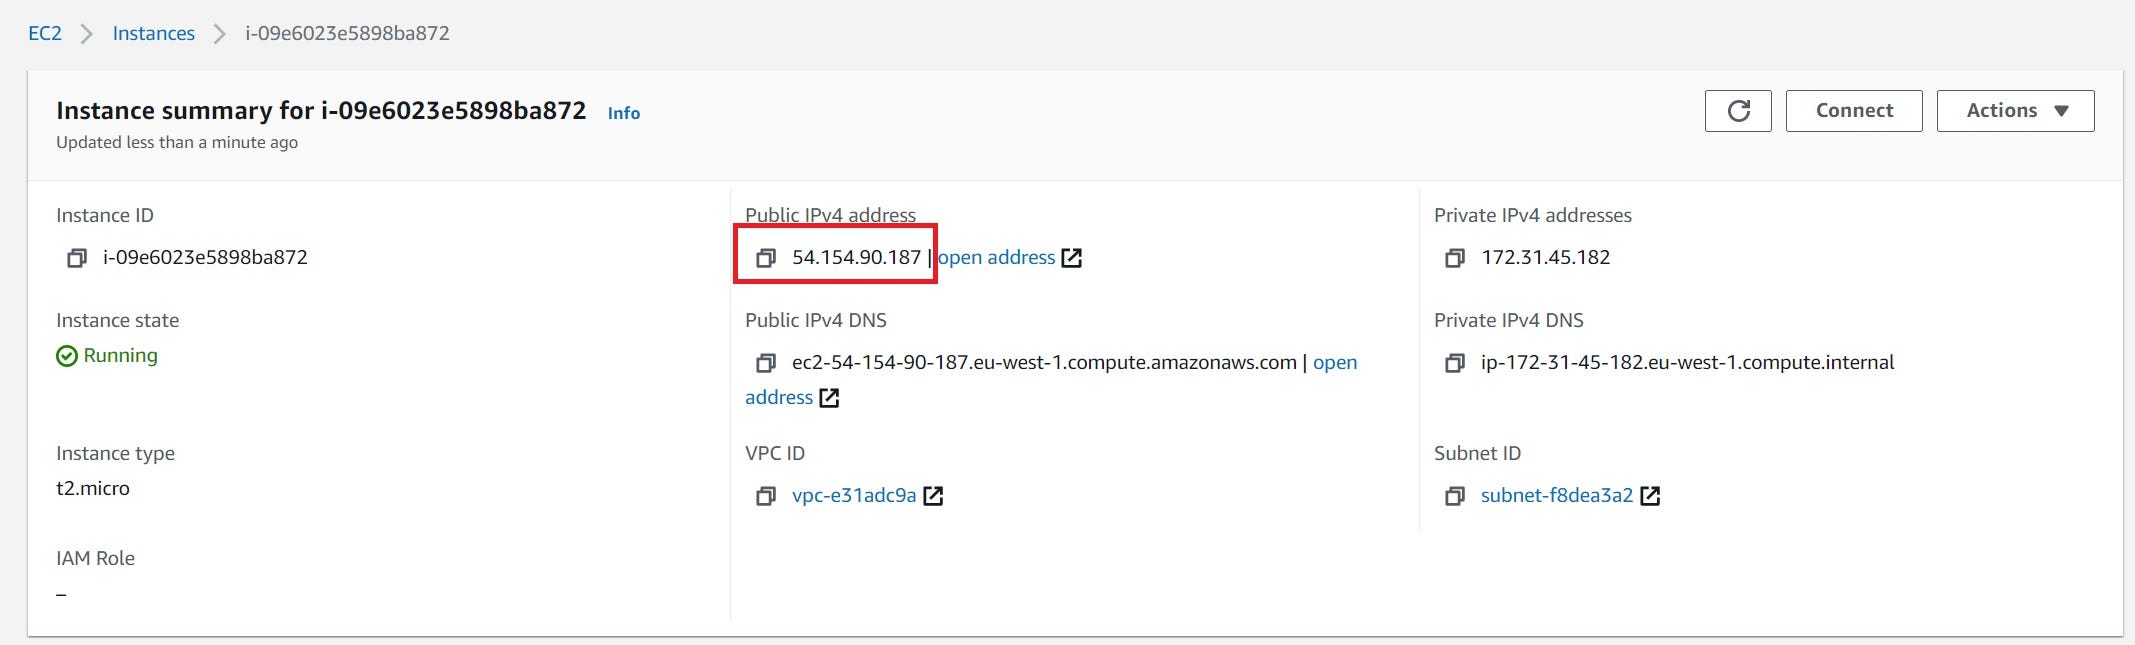
Copy the Public IPv4 address. Open new tab in your browser and go to the address below.
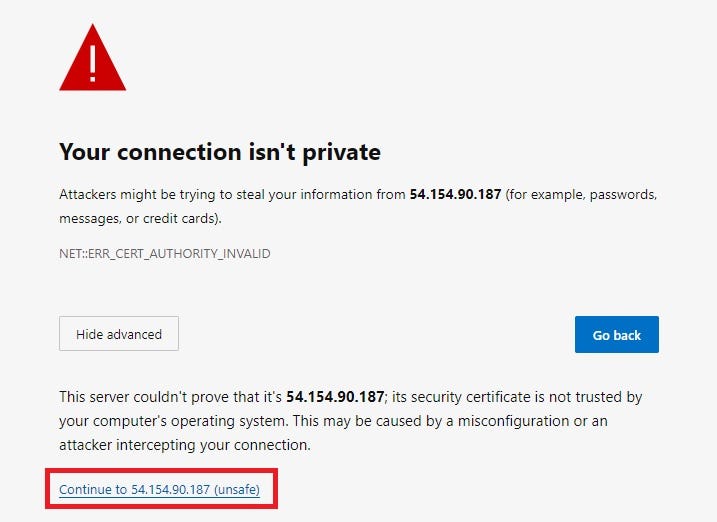
https://<Your Public IP Address>:943/admin</span>

This has a self-signed page so don’t worry about that click advance and continue.
Username: openvpn
Password: that password we just created in terminal.
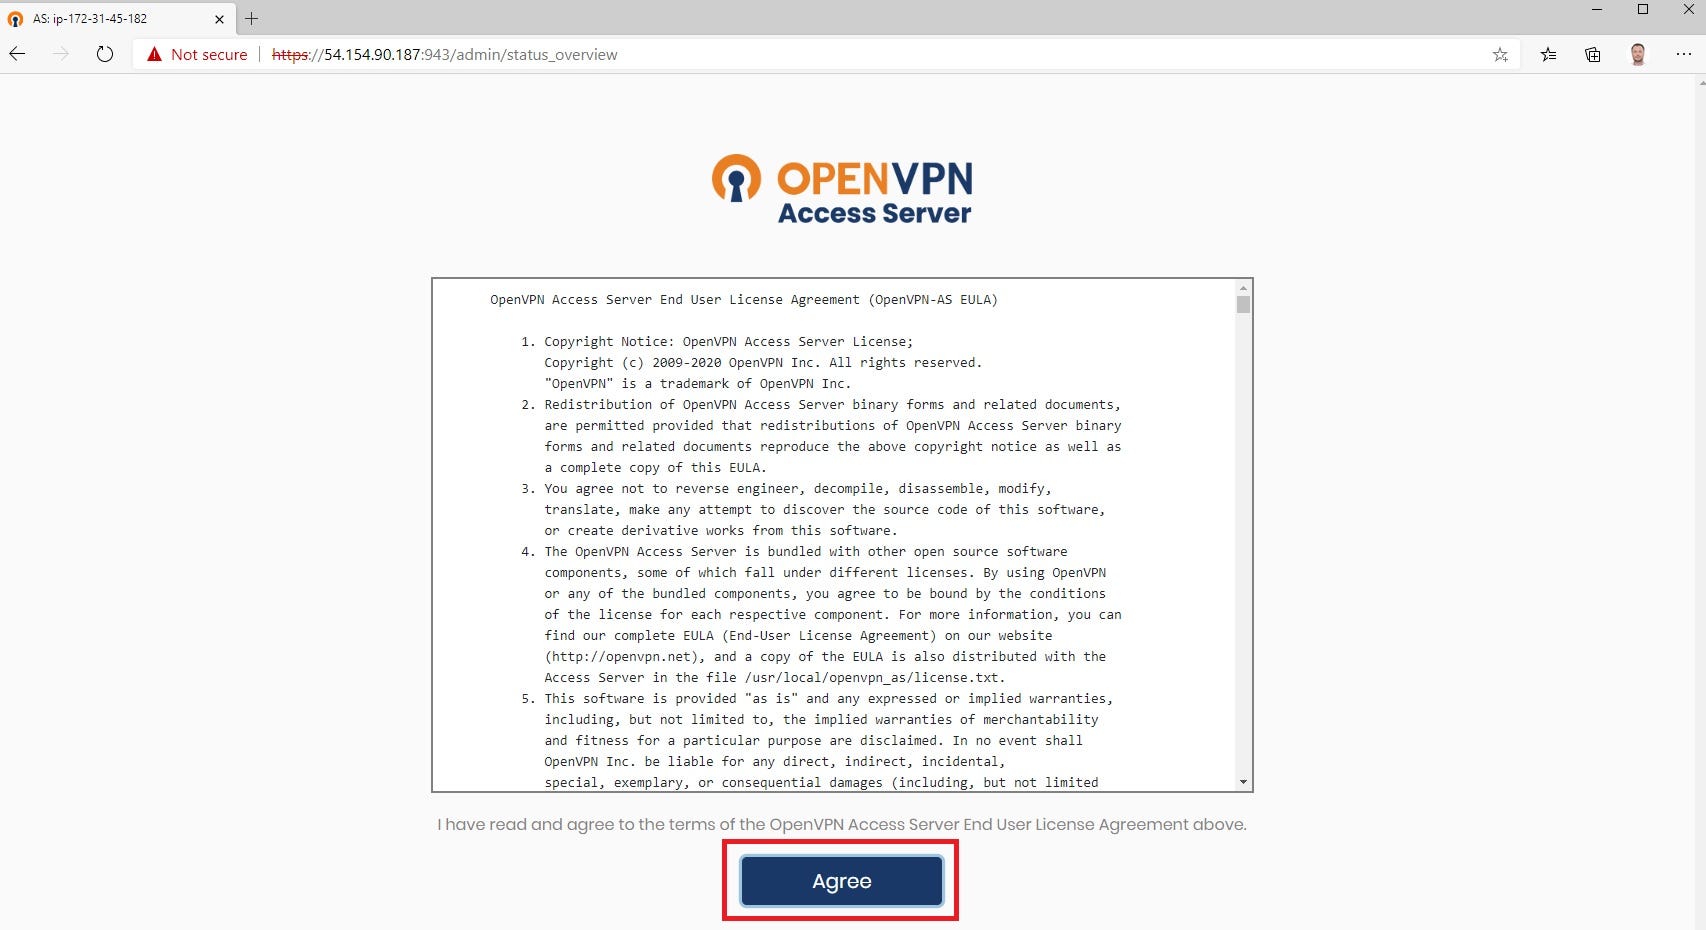
Click “Agree” and continue.
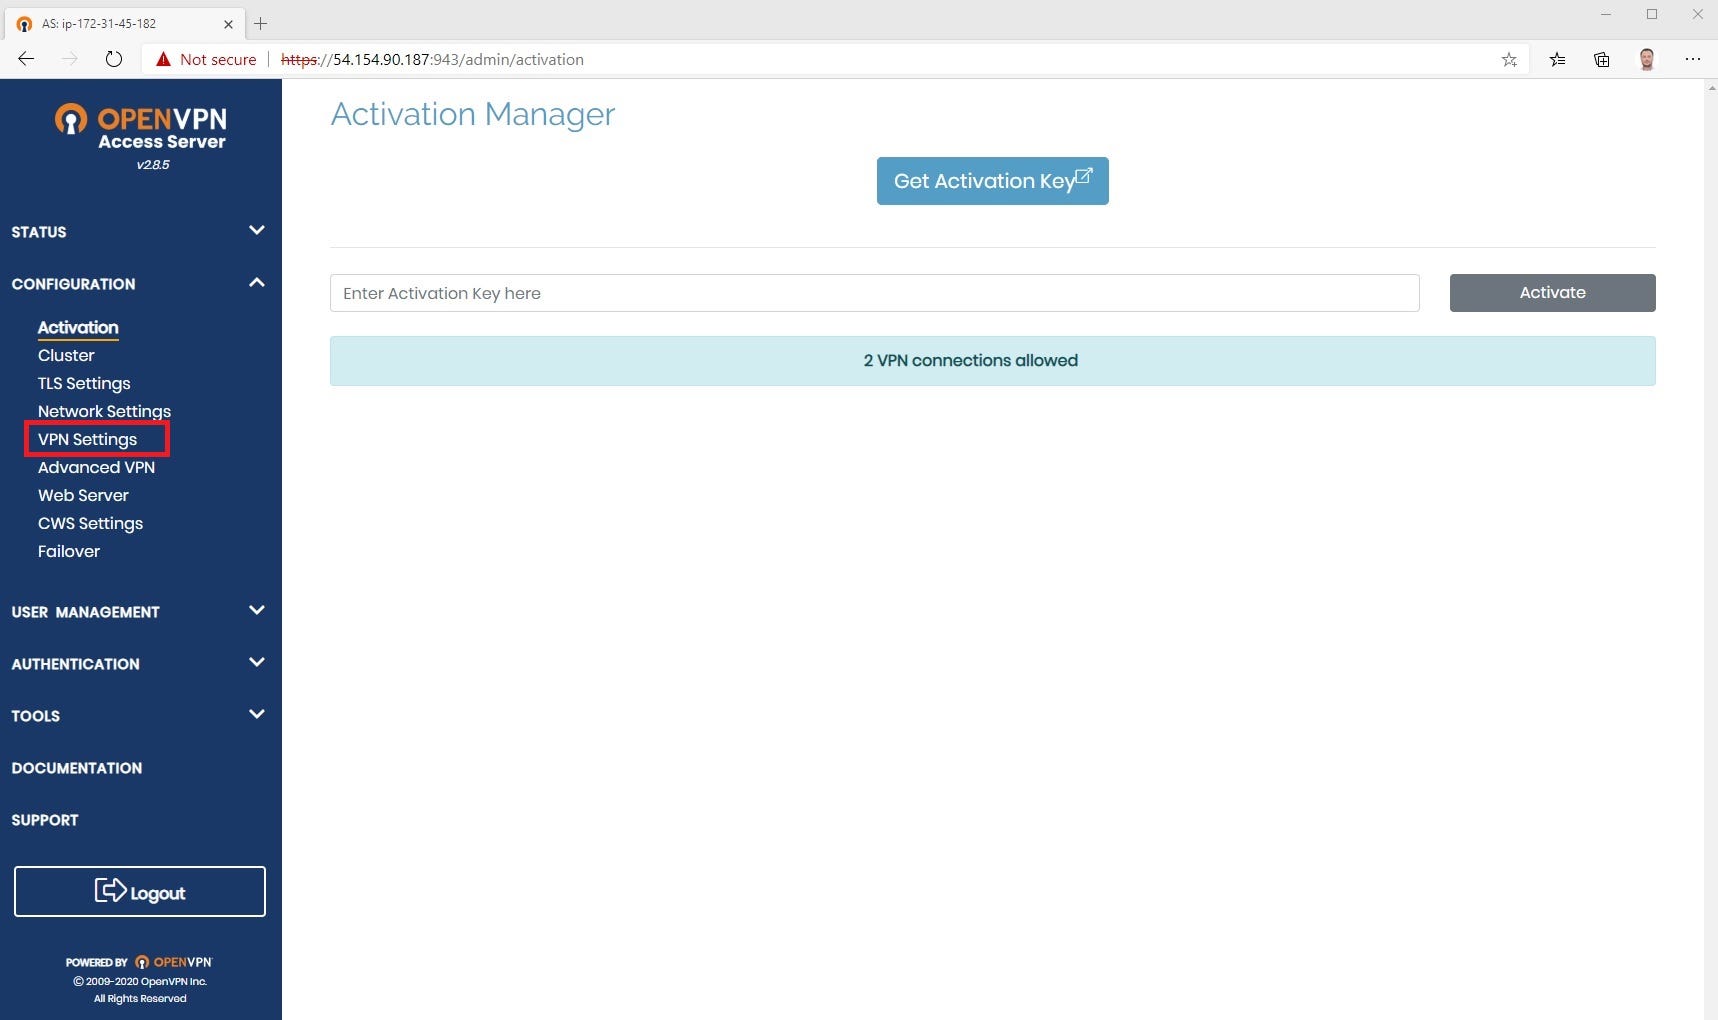
We are in. There is one thing i want you to change. Under configuration we are going to the “VPN Settings”.

To make sure all your internet traffic is safe and secure going through this vpn wherever you are. Under Routing we will see an option that says “Should client internet traffic be routed through the VPN?”. We want that so we are going to select the option and “Save Settings”.

One last step hit this “Update Running Server” to make sure the changes take place.

That’s it, 😃 as far as the server goes you’re done but we are not done yet. We still have clients to connect. We want to connect to this right and want to use it. Go to the browser url bar and click the below url with your own virtual server public addresses.
[https://<Your Public IP Address>:943/](https://54.154.90.187:943/)</span>
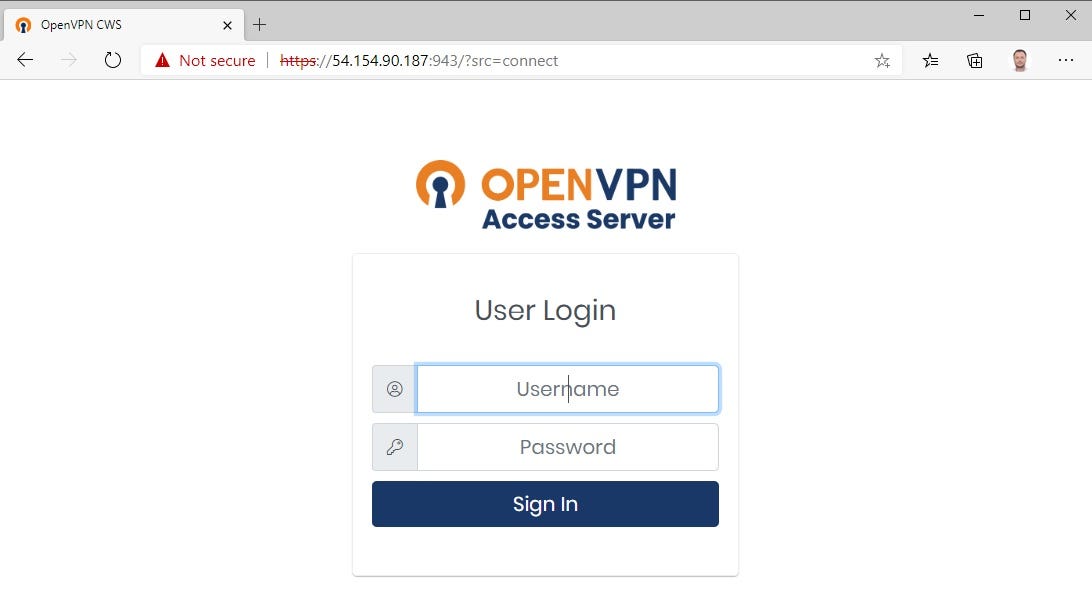
It’s taking us to the user portal before that was the admin portal where we make changes and stuff. Here it’s for clients for people who want to connect. Good news is it’s the same login information 😃.

Choose your favorite whatever device you have, whatever device you want to connect to vpn download that client so I have windows here so i’m going to select windows.
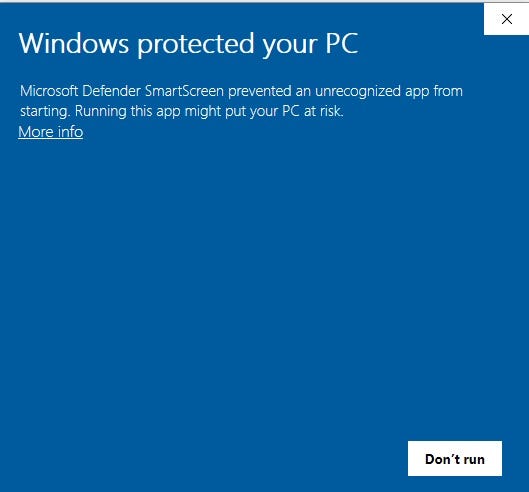
Windows doesn’t like it but i don’t care. Click “More info” and “Run anyway”.
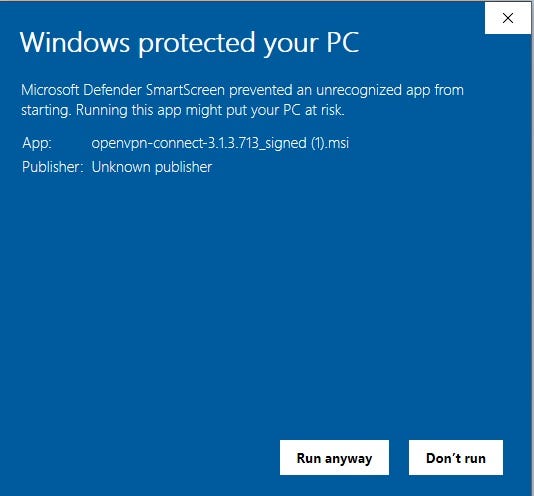
You can’t boss me around windows get in your lane Bill Gates 😃
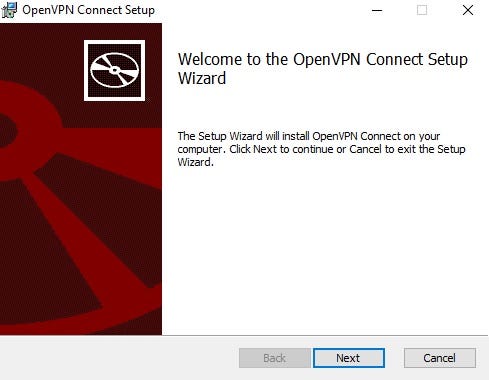
Next — Accept — Next — Install and finish
Start the “OpenVPN Connect” application in your computer and then agreed the terms in the first screen.
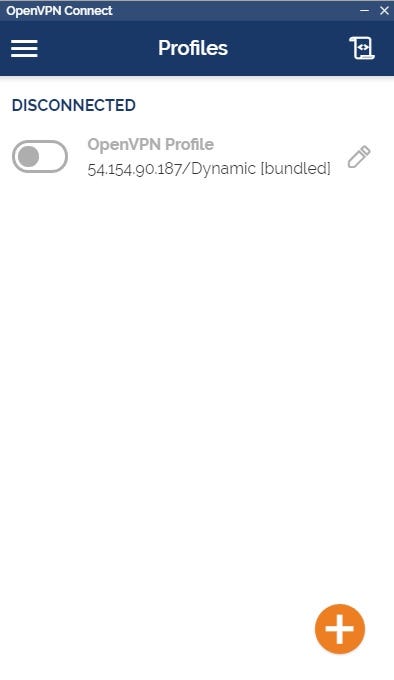
The beautiful part is that it’s already pre-configured. It imported your profile if you downloaded it from that page. All we have to do is hit connect.
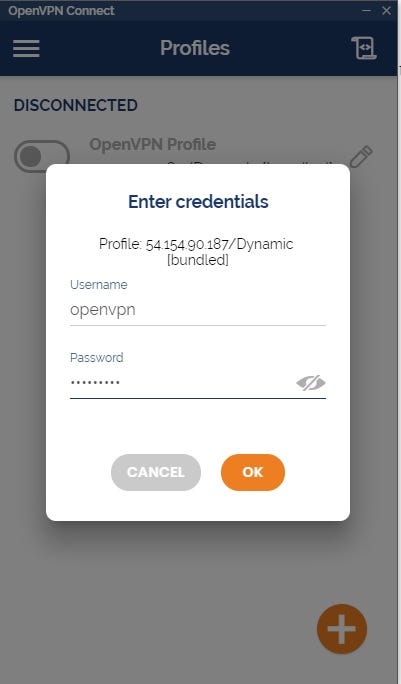
Once more same Username same Password.
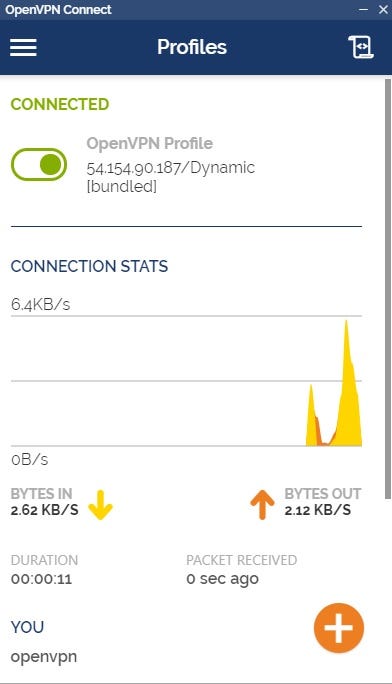
We are connected 😃 but am I secure? How do I know this is working? Let’s go test it out. We will open up a new tab in our browser here we will go to google and we will type in “what’s my ip” and let’s see where we are at 😄.
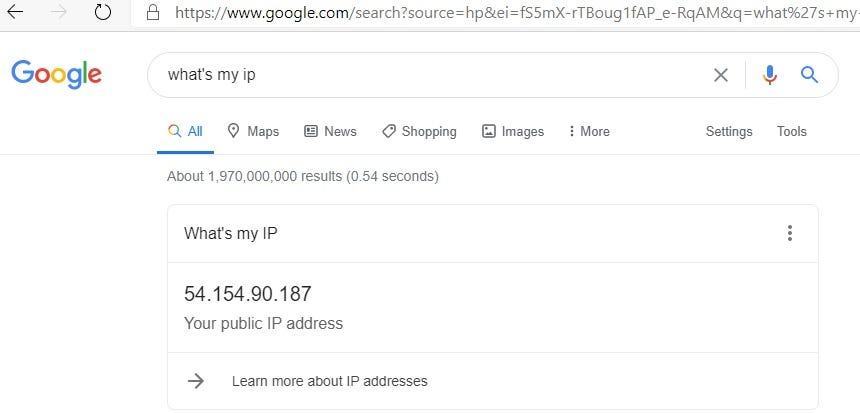
That’s not my home IP Address by the way. That’s the only that we’ve been using so far. That’s our openvpn server all our internet traffic is going through this guy we just created. If you want to use your phone ios/android, open the browser in your phone, type the link below, enter the username and password and get the phone app. That’s it.
[https://<Your Public IP Address>:943/](https://54.154.90.187:943/)</span>
You have got a vpn server. You are a boss. That’s pretty cool. This is doing two amazing things. Your computer, your phone or whatever you connect to this vpn server you are getting access to a virtual private cloud in amazon or a VPC. When you are working in AWS, you are creating servers and websites and all kinds of stuff, you can have that safely tucked away in a virtual private network or virtual private cloud. What we just did here today gives you a secure way to connect to your virtual private cloud in AWS. You are not accessing public IPs. You are securely accessing your virtual network and you are logging in devices via their private IP addresses. Not only that because we changed our options all internet traffic is going through the server. Keeping us nice, safe and encrypted. We can be wherever we want because I don’t know if you noticed. I’m in Ireland according to our vpn server. That’s where I put him in amazon. Wherever amazon is i can be there too 😎.